In our last Sage CRM blog article, we talked about how you can use the Outbound Call List feature in Sage CRM to keep track of your call campaigns. Today, we are going to talk about how you can use MailChimp campaigns in Sage CRM to communicate with your leads or customers.
Here’s how you get started:
Step 1: Setup a free or paid account (depending on your needs) at www.mailchimp.com.
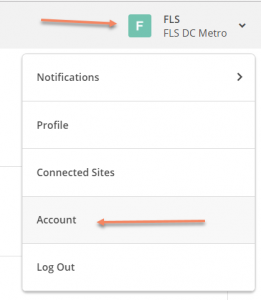
Once your account is active, navigate to the icon on the top right and click on Account. Then click on Extras, and API Keys.
Follow the steps to create a key. Once you have a key, copy it somewhere that you can easily get to, so you can use it in Sage CRM.
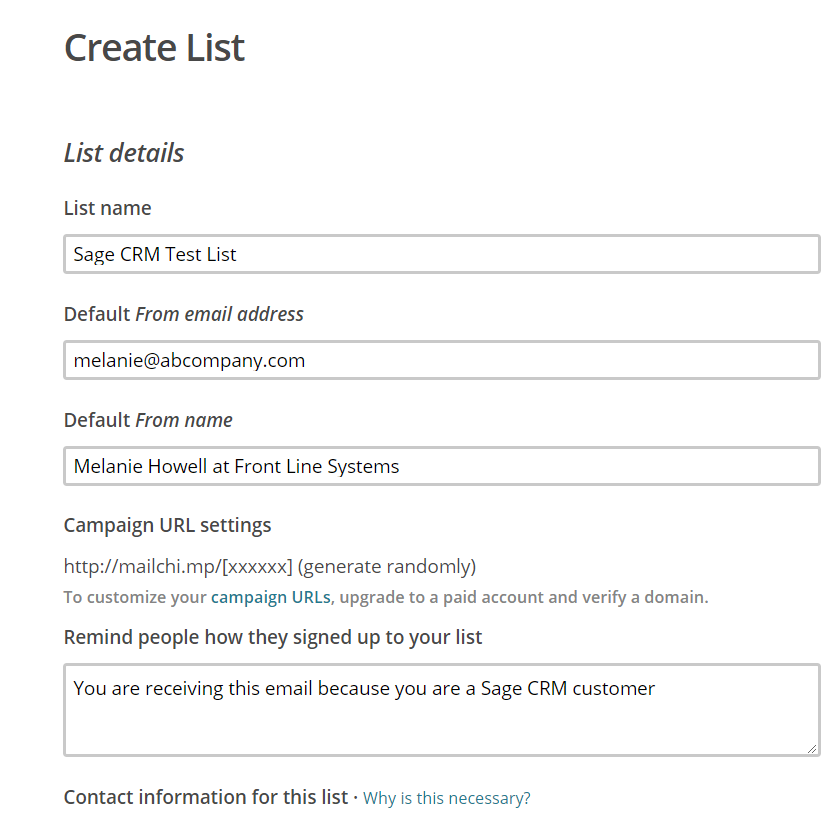
Step 2: Create a list in MailChimp. Fill out all the appropriate information and hit save.
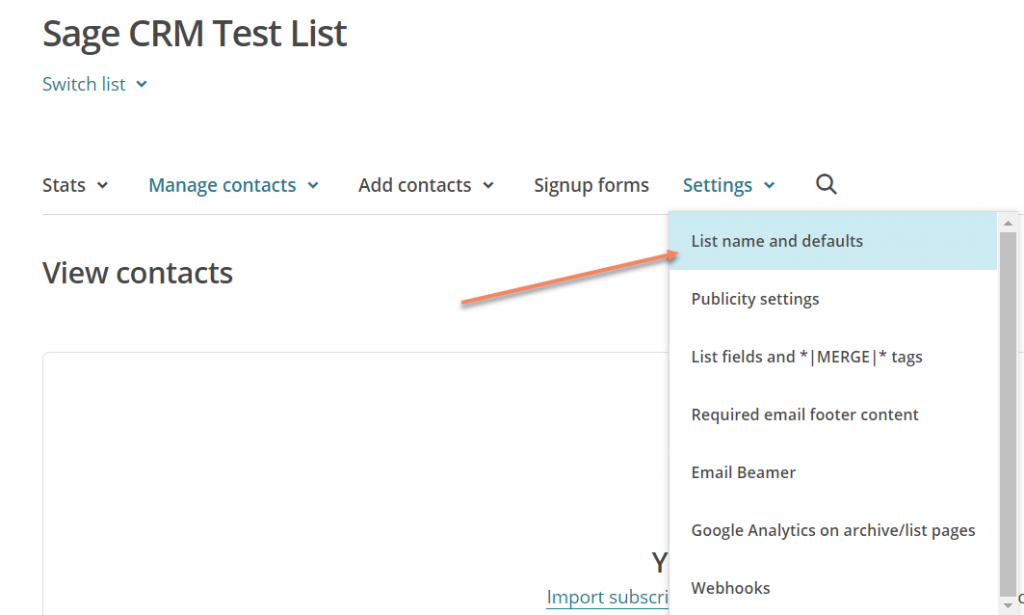
Now, click the Settings tab and click on List name and defaults tab.
Once you have clicked on the list name and defaults tab, you will see the List ID on the right side of the screen. Copy it, so you can use it in Sage CRM.
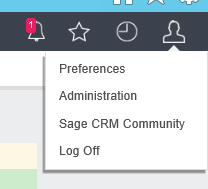
Step 3: Once back in Sage CRM, navigate to the person icon on the top right on the screen and click on Administration.
Once there click on Email and Documents and then, click on MailChimp integration. Enter all the relevant information on the screen.
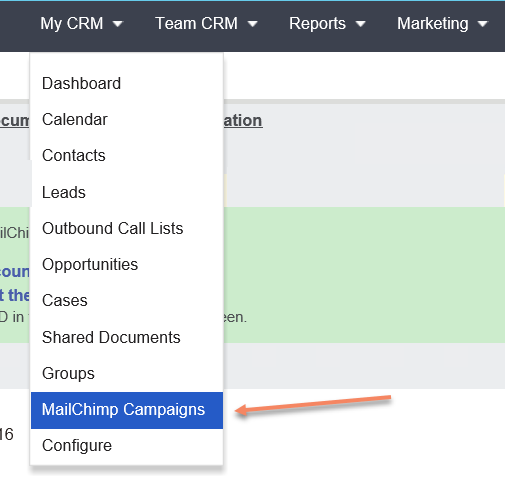
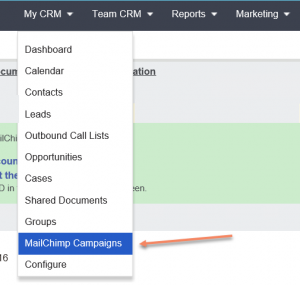
After integration you will see the addition of the MailChimp campaign option in your ‘My CRM’ dropdown menu.
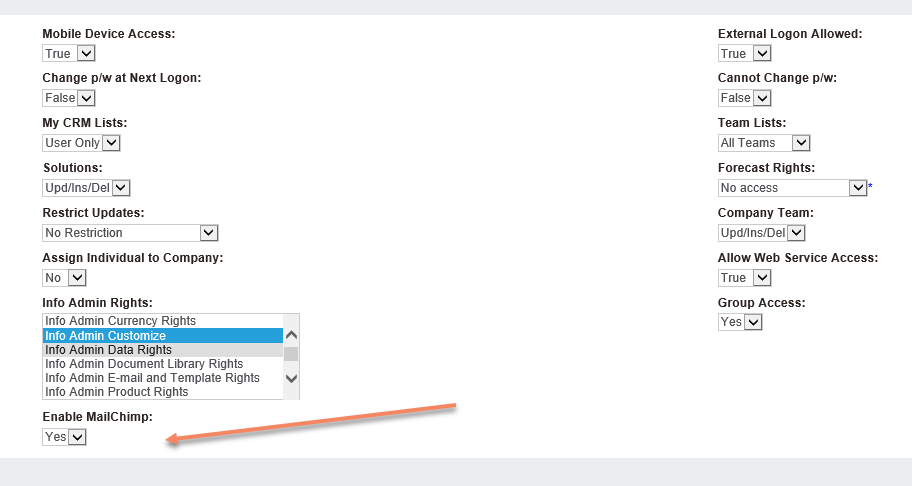
Step 4: If you don’t see MailChimp campaigns on your My CRM tab, follow these steps. Navigate to User Administration, and Click on Users.
Find the users (including yourself) that you want to give Mailchimp access to.
Make sure the field Enable MailChimp, says Yes, then click save.
Step 5: Now that you see MailChimp Campaigns within Sage CRM, it is time to create a Group in Sage CRM.
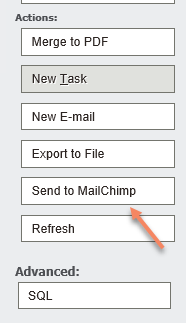
This can be a Dynamic or Static Group, depending on your email campaign needs. After creating the Group click the button – Send to MailChimp.
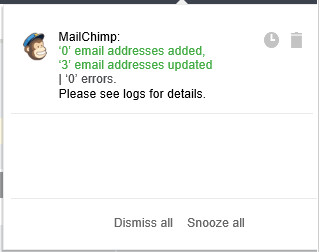
You will receive a message in Sage CRM alerting you that the Group has been sent to Sage CRM and you will be notified once the operation has been completed.

Here is what the alert will look like.
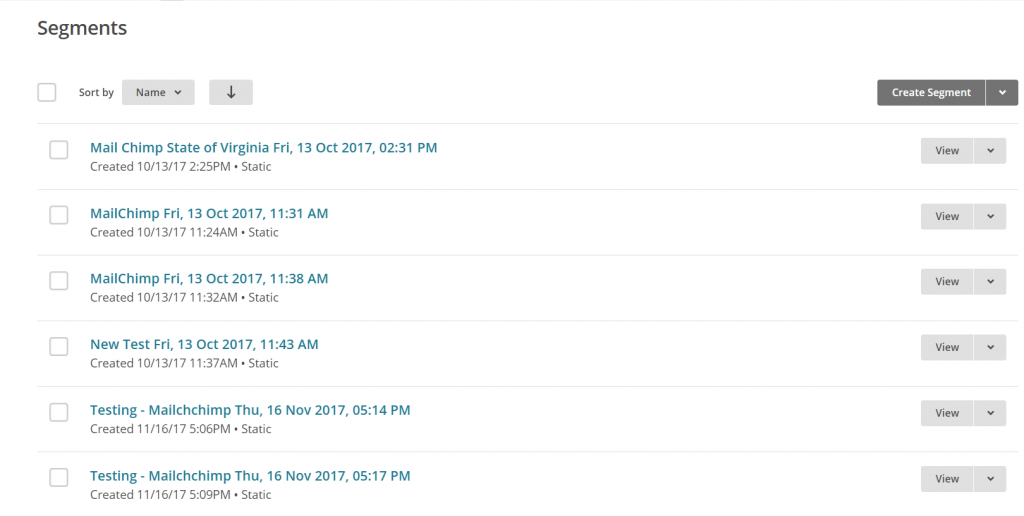
Note: Instead of sending your campaigns to different lists in MailChimp, you will send them to the appropriate segment within your MailChimp list that you setup in Step #2.
Here is a preview of what the different segments look like in MailChimp.
Step 6: Now that the list is uploaded in MailChimp it is time to create your MailChimp campaign in Sage CRM.
Navigate to the My CRM tab on the header menu and click on MailChimp campaigns.
Once there, click New and fill out the Campaign details – Campaign Name, From Email address, From Name and Segment. When you click on the Looking Glass icon, MailChimp will give you the option to select the Segment you want to send your campaign to. (Reminder: The segment refers to the Group you previously created in Sage CRM, and uploaded into MailChimp.)

Note: If you selected the wrong segment by mistake, no problem, just delete and reselect the correct segment.
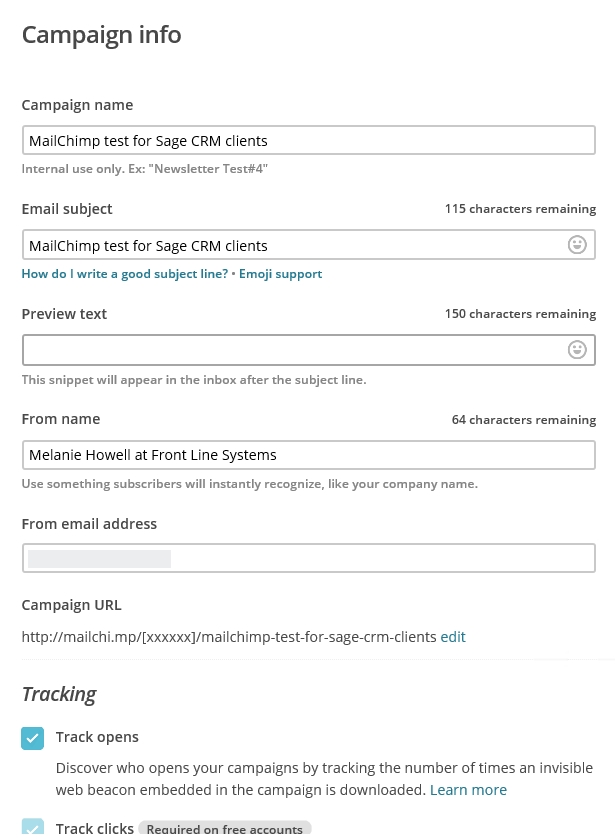
Step 7: Once ready, click Create Campaign, the campaign will open in another tab within your browser. Fill out the campaign details.
The campaign setup process in MailChimp is easy because they direct you each step of the way.
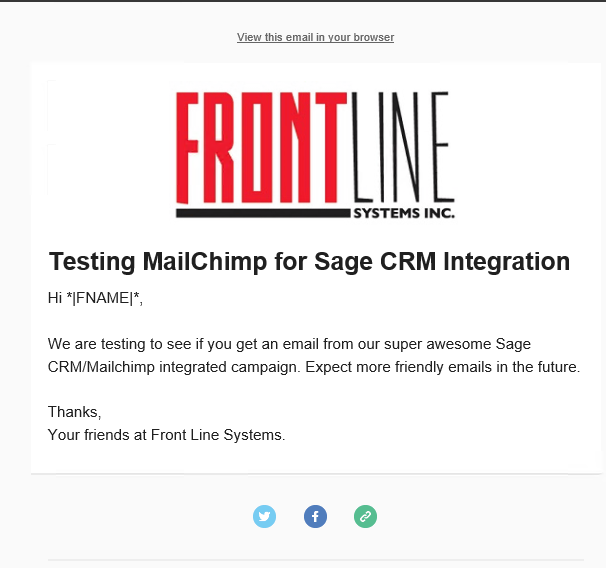
After filling out the setup details, select your template, draft your email, preview and test the same.
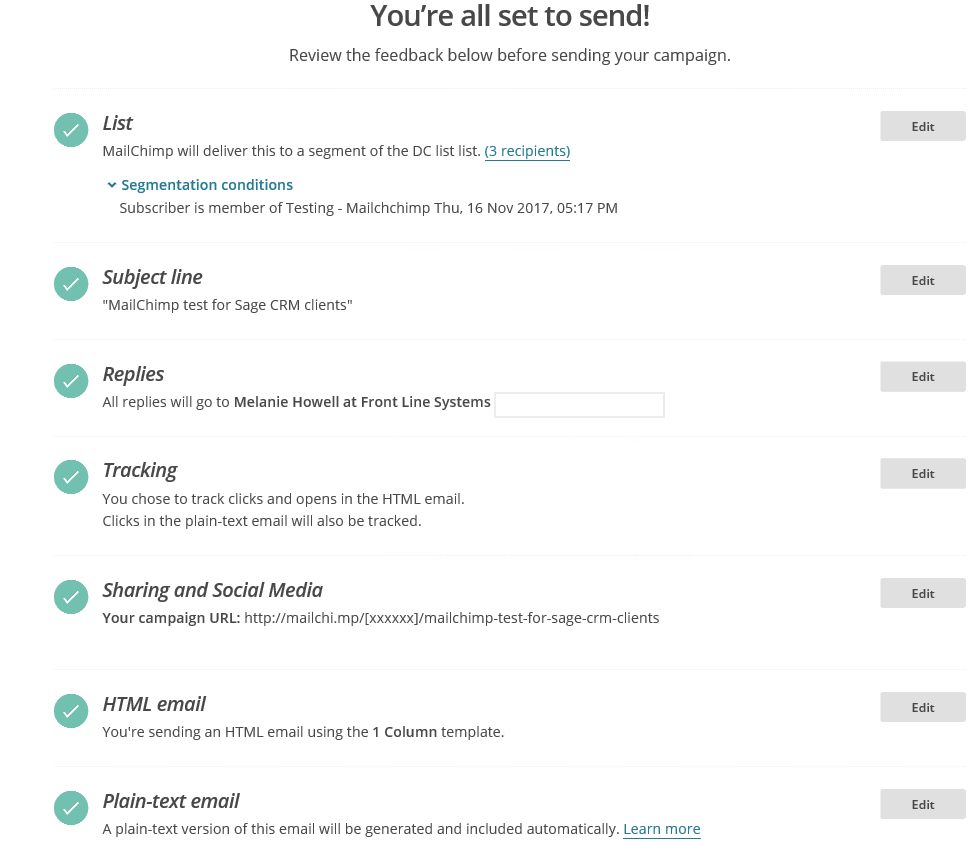
Once you are happy with your email’s layout and copy, you are ready to send your first campaign. Click Next to confirm all your campaign details.
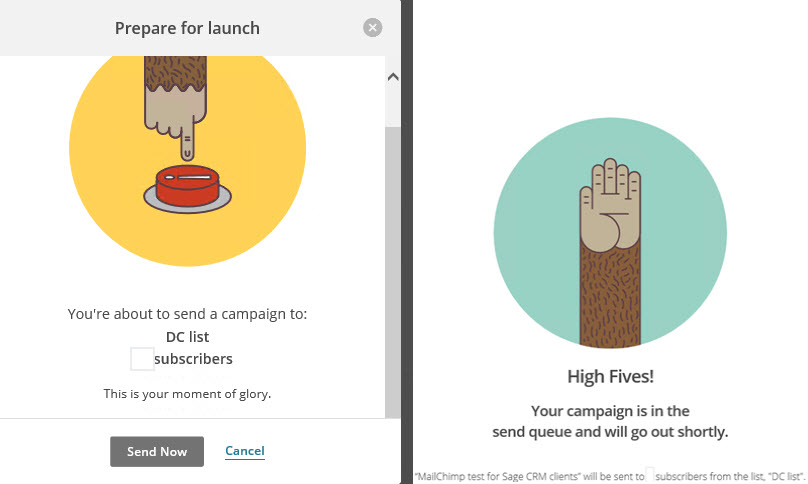
Double check your segmentation conditions to make sure the email is going to the right Group in Sage CRM. Once ready, hit send.
Step 8: Review Stats and Reports
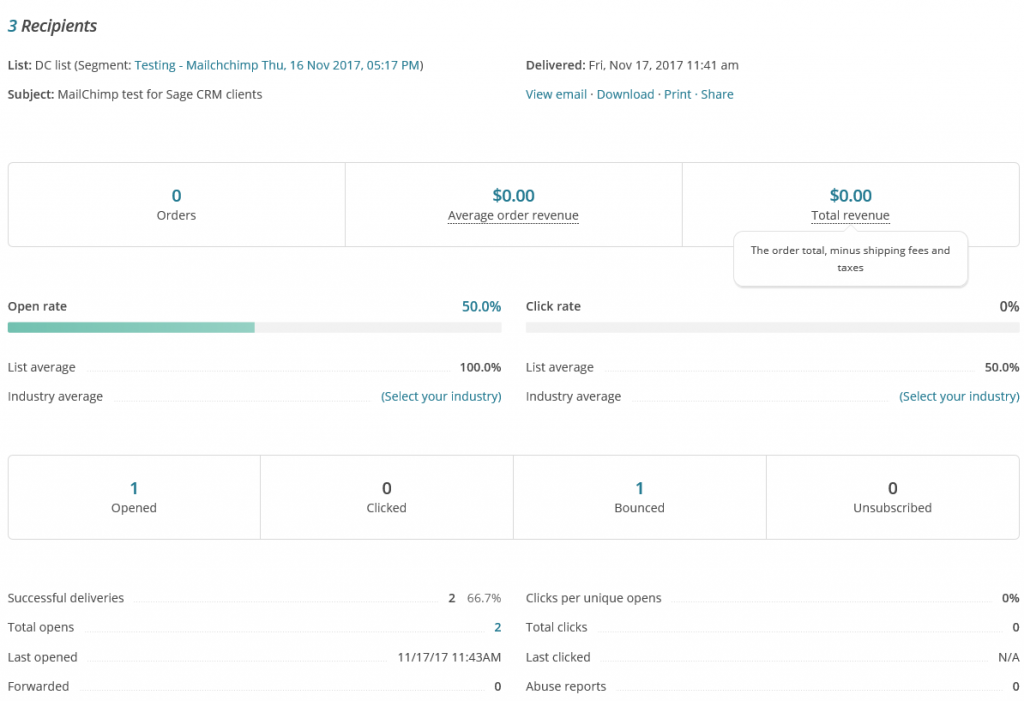
Now that your campaign is sent, go back to Sage CRM, navigate to the MailChimp Campaigns tab and click on your campaign. You will be welcomed by a screen that highlights all your campaign statistics.
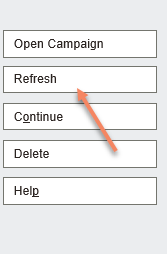
You can hit the refresh button on the right to refresh the campaign results.
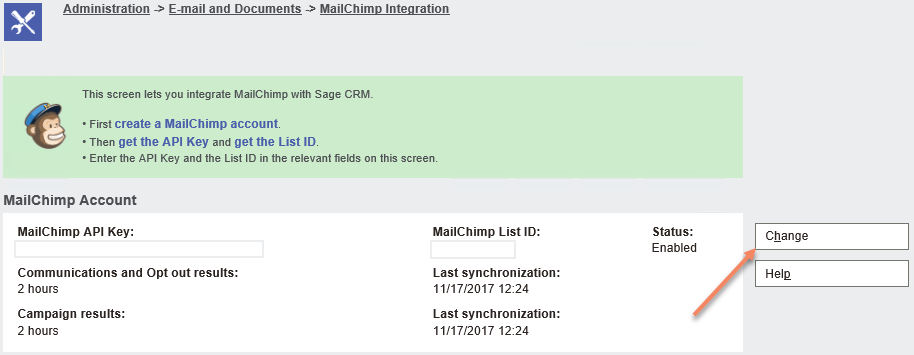
If you would like to see how often MailChimp updates your campaign results, navigate to the MailChimp integration section in Administration (same steps as Step # 3). To make changes to how often the campaign statistics are updated, click on Change. Once you’ve updated your preferences, hit save.
To get more detailed campaign results, please click on the campaigns tab in Mailchimp, and click on View Report.
You will be able to see lots of detailed statistics within MailChimp.
If you have any questions about the Sage CRM and MailChimp integration, contact us today. We look forward to serving you.
About Front Line Systems
Front Line Systems is a business technology consulting firm, with headquarters in Minneapolis, Minnesota. We are dedicated to helping businesses solve their accounting, manufacturing and warehouse concerns. We believe that your business has an amazing capacity for innovation and growth and that technology can help get you there.
Front Line Systems is a technology partner that solves problems and creates solutions for the life of your business. We provide ERP Consulting, Warehouse Management Consulting and CRM Consulting Services in Minnesota, Wisconsin, Virginia, DC, Maryland, Connecticut (New England)and serve clients across the US. Contact us at 866-435-0243 today.











Leave a Reply